If you are looking to restore the elegance of your cherished leather items, a leather repair kit can be an indispensable tool. Whether it’s your favorite handbag, a well-worn jacket, or a classic leather sofa, the right kit can help breathe new life into these items. In this article, we’ll explore how to select the best kit and guide you through the repair process to ensure your leather goods look their best for years to come.
Understanding Your Leather Repair Kit
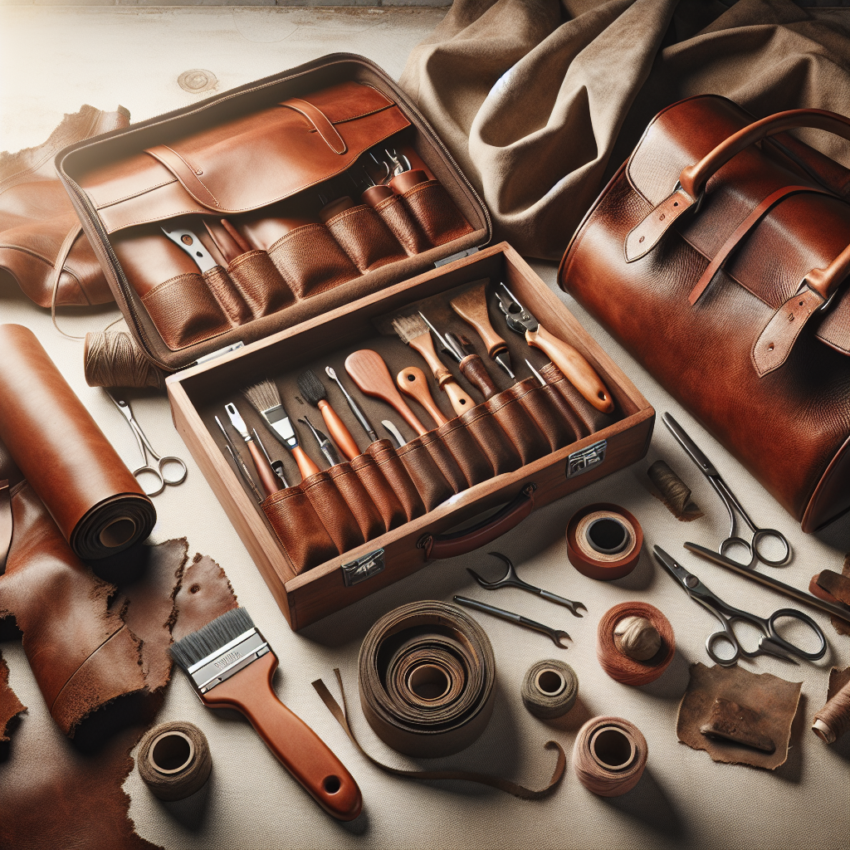
When it comes to choosing a leather repair kit, you’ll find many options, each varying in components and applications. A comprehensive kit typically includes color compounds, leather adhesive, and a set of tools designed to tackle various repairs from scratches to holes and tears. Knowing what each component does will set the stage for effective restoration.
The leather adhesive is a crucial element in any kit. It’s designed to bind the separated fibers and create a smooth, durable surface. Color compounds allow you to match the repaired area to the original hue of the leather, an essential step for achieving a seamless look. Along with tools such as spatulas and grain papers, these kits come equipped with everything you need for most DIY repairs.
Benefits of Using a Leather Fix Kit
Investing in a quality leather fix kit has numerous benefits. First and foremost, it offers a cost-effective alternative to professional repair services. While expert repairs can be expensive, DIY kits provide a budget-friendly way to maintain or restore your leather goods.
Furthermore, a leather fix kit empowers you to fix minor issues promptly, preventing small problems from escalating into severe damage. This immediate attention can prolong the life of your leather items significantly, ensuring they remain functional and visually appealing.
Choosing the Right Leather Repair Kit for Your Needs
With various kits available on the market, selecting the right one comes down to understanding your specific needs. Consider the type of leather, the extent of the damage, and whether you need a permanent or temporary fix. Some kits are tailored for furniture, others for automotive leather, and some are even multi-purpose.
Read product reviews and look for kits endorsed by users with similar repair needs. It’s vital to ensure that the kit comes with clear instructions or access to online tutorials, which can be invaluable, especially if you’re new to DIY leather repairs. Here’s a tip: consider the aesthetic of your entire space when choosing colors from your kit, much like decorating a room with vintage maps.
Step-by-Step Guide to Using a Leather Repair Kit
The key to successful leather repair lies in preparation and patience. Follow these steps for a professional-looking finish:
- Clean the Leather: Start by wiping down the item with a gentle, lint-free cloth to remove dust and oils. This ensures that no debris gets mixed into the compounds you apply later.
- Assess the Damage: Determine whether you’re dealing with light scratches or significant tears. This assessment will dictate how much material and effort the repair may require.
- Apply the Adhesive: For tears or punctures, apply the adhesive carefully to the affected area. Use an included spatula to smooth it out evenly.
- Color Match: Mix the color compounds to achieve a hue that matches your leather. Test the shade on a hidden area first to ensure accuracy.
- Smooth and Finish: Once satisfied with the color, apply it to the repaired area using the application tools. Use a grain paper to mimic the original leather texture, ensuring a smooth blend.
After completing these steps, allow ample drying time before using your repaired item. Patience during the drying phase is essential, as hurrying this step can compromise the repair quality.
Maintenance Tips for Your Leather Goods
Regular maintenance can help extend the life of your leather goods even further. Keep your items clean by using a damp cloth regularly to remove surface dirt. Condition the leather with a quality conditioner every few months to keep it supple and prevent cracking. Avoid placing leather in direct sunlight or near heat sources, as these conditions can dry out the material.
Common Challenges and Solutions
Despite your best efforts, some challenges may arise during the repair process. One common issue is mismatched colors, which can often be corrected by adjusting the color mix or consulting online resources for tips. If the repaired area is visible or unsightly, it might be necessary to repeat the process, applying thinner layers of compound to achieve a better match.
Finally, if the damage is extensive or outside your comfort zone for DIY repairs, consulting a professional is a wise option. Professional assessments can complement your initial efforts, ensuring your leather goods remain in pristine condition.
Explore Additional DIY Ideas
Once you’re comfortable with leather repairs, you may enjoy exploring other creative DIY projects. Adding unique elements to your home décor, like vintage map decorations, can complement the classic look of leather furniture. To learn more about incorporating such timeless trends into your space, visit our article on how to decorate your home with vintage maps.
For further reading on leather care and other related topics, consider visiting educational resources such as Leather Crafting on Wikipedia.
Conclusion
A leather repair kit is an essential investment for anyone passionate about maintaining their leather goods. By understanding how to use these kits effectively, you can carry out repairs that truly stand the test of time. As you gain confidence in your abilities, you’ll find that the restoration of your leather items can be a highly satisfying and rewarding endeavor.
- Leather repair kits offer a cost-effective way to restore leather goods.
- Select a kit based on the specific needs of your leather item.
- Follow a step-by-step guide for optimal results.
- Regular maintenance can help preserve leather quality.
- Always consider consulting a professional for extensive damage.
What does a standard leather repair kit include?
A standard leather repair kit typically contains leather adhesive, color compounds, spatulas, grain papers, and clear instructions for use.
How can I ensure the repaired color matches my leather precisely?
Mix color compounds carefully and test on an inconspicuous area before applying to the visible surface. Adjust as needed until you find a match.
Is a leather fix kit suitable for all types of leather?
Most kits are versatile, but it’s important to check the product specifications to ensure compatibility with your specific type of leather.
How often should I maintain my leather items?
You should clean and condition your leather items every few months to maintain their quality and appearance. Avoid direct sunlight and excessive heat.
What if my DIY repair isn’t perfect?
If you’re unsatisfied with the DIY results, consider consulting a professional for assistance. They can help refine your repairs to achieve the ideal outcome.